How to Properly Install a Dryer Vent Hose
02 Mar, 2021 / Comments: Comments Off on How to Properly Install a Dryer Vent Hose / By admin
Having a properly installed dryer vent hose is one of the most critical home maintenance tasks there is. Many people aren’t aware of the many dangers associated with improper installation or ventilation in this part. To help avoid fire and other damage that can be caused due to incorrect dryer vent hose function or installation, here is the entire installation process, broken down into five main steps:
Map Out the Dryer Vent’s Path
If this is a new installation where one has never been before, or if you are closing off the old one, a new path for the ductwork must be determined. Ideally, it is best to make the route as short as possible. However, there are numerous guidelines and suggestions to follow when it comes to installing dryer vents.
It is important to note that the standard maximum duct run for any dryer is 25 feet. Rigid pipe tends to require less maintenance and is also a safer option. Additionally, the manufacturer’s recommendations should be followed regarding materials, measurements, and other instructions.
Create the Vent Hood Opening
Once the ductwork’s shortest pathway has been determined, the next step is to decide where the exit for the dryer vent will be located. For basements and other sub-level laundry areas, remember that the vent hood needs to be a minimum of 12 inches above the ground. This is for safety and operational reasons.
Mark a circle where the opening inside your home will be and drill a hole in the center of it. Check the hole from the outside of the house and make sure it meets the necessary criteria. If you are cutting through a finished wall, remove a small area to make sure that you won’t be damaging any plumbing, electrical wiring, or other systems.
Dryer Vent Hood Installation
Following the dryer vent’s path and the cutting of the vent hood opening, the next step is installing the dryer vent hood. This is done from the exterior of your home by inserting the duct pipe on the hood, through the hole and positioning the assembly to face the ground. Once it is in the proper place, secure the vent hood with wood screws. Anchors can be used in place of screws on brick homes.
Measuring, Cutting, and Assembling the Vent
Once the vent hood is in place and secure, you can begin connecting the dryer and the exit point. Remember also to always protect your hands by wearing gloves when cutting dryer duct pipe. The fresh-cut edges on this rigid metal are incredibly sharp. Even minor contact can result in an injury. This stage requires proper measurements, good cuts, and patience. Don’t get in a hurry, and don’t get frustrated.
Securing and Testing the Vent Ducts
This is where you test your ducts to make sure everything is functioning correctly and is stable. The connections of duct pipe all need to be held together and secured. Any pipe longer than a few feet needs support.
Now that you know a little bit about how to install a dryer vent hose, let’s take a moment to look at a few things that you should never do during one of these projects:
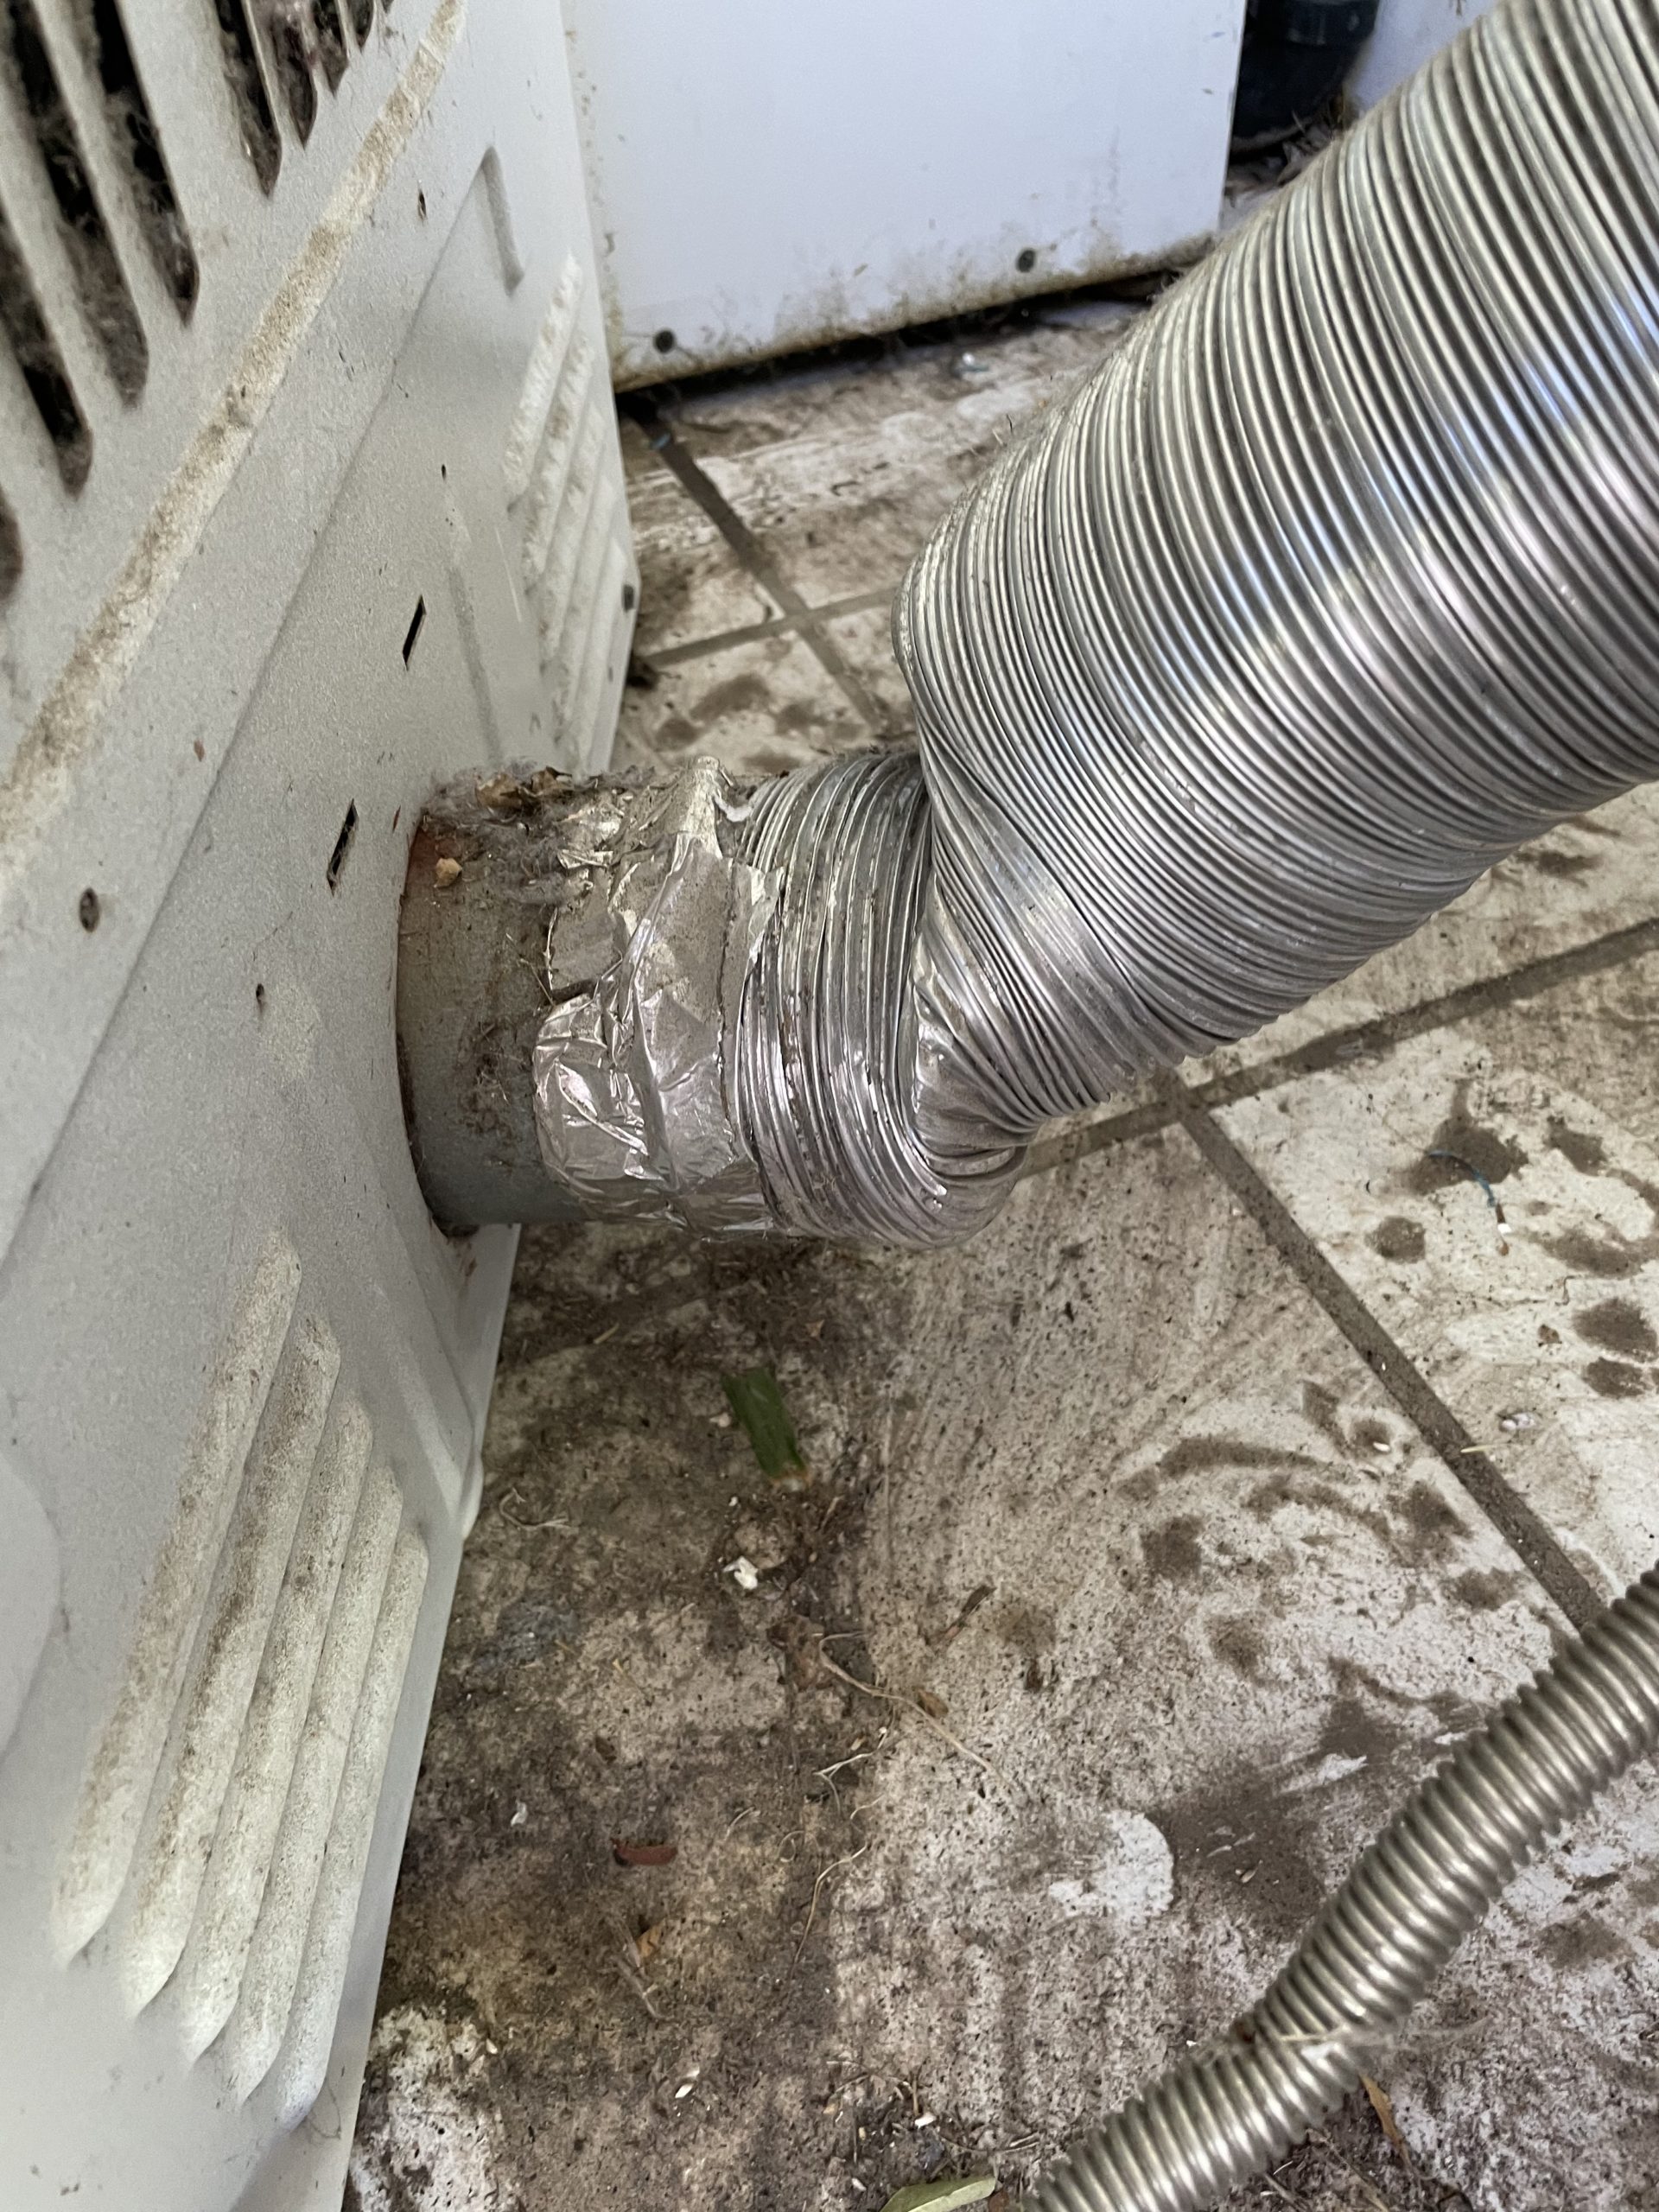
DO NOT use slinky foil materials or vinyl for dryer vents.
DO NOT use plastic materials or PVC piping for dryer vents.
DO NOT connect venting materials using duct tape.
DO NOT use bolts or screws to secure joints.
DO NOT terminate dryer vents in attics or crawl spaces.
DO NOT use screens or cages to keep pests from entering.
DO NOT ignore warning signs that your clothes dryer is not functioning correctly.
Any of these things could lead to severe complications with the performance and even the safety of your new dryer vent hose. Whenever you are taking on any improvement or maintenance task, it is always best to follow the instruction and guidelines presented and have someone there to assist you.